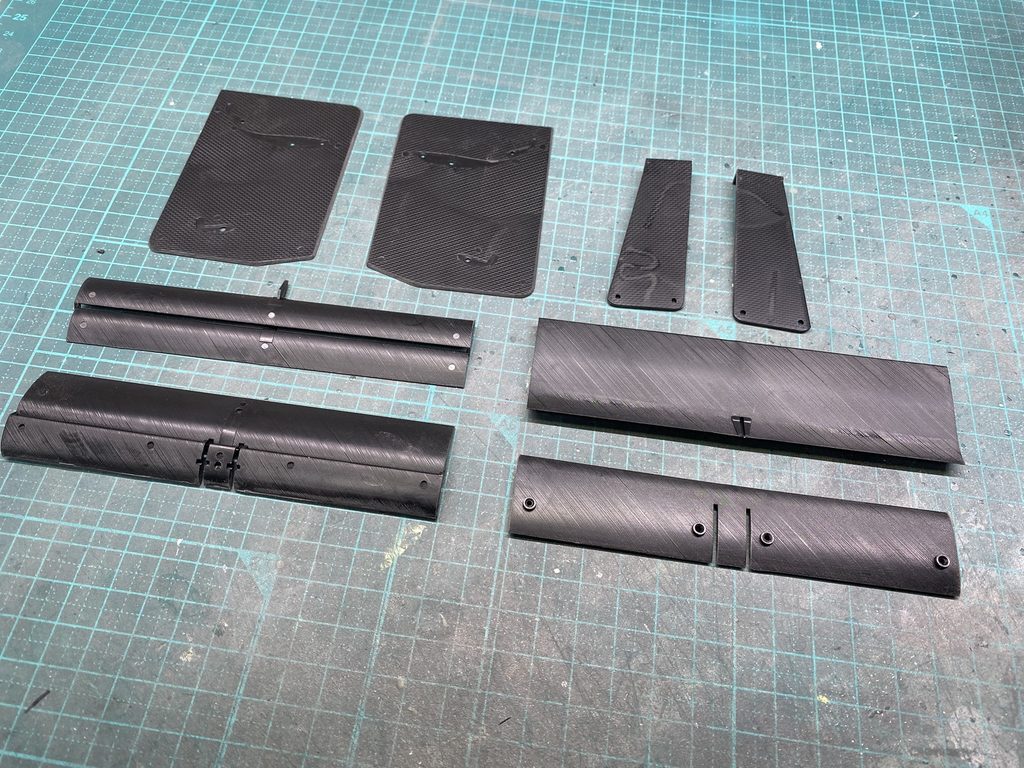
リアウイングの製作を始めます。
こちらがリアウイングを構成する主なパーツです。
Work begins on the rear wing.
Shown here are the main components that make up the rear wing assembly.
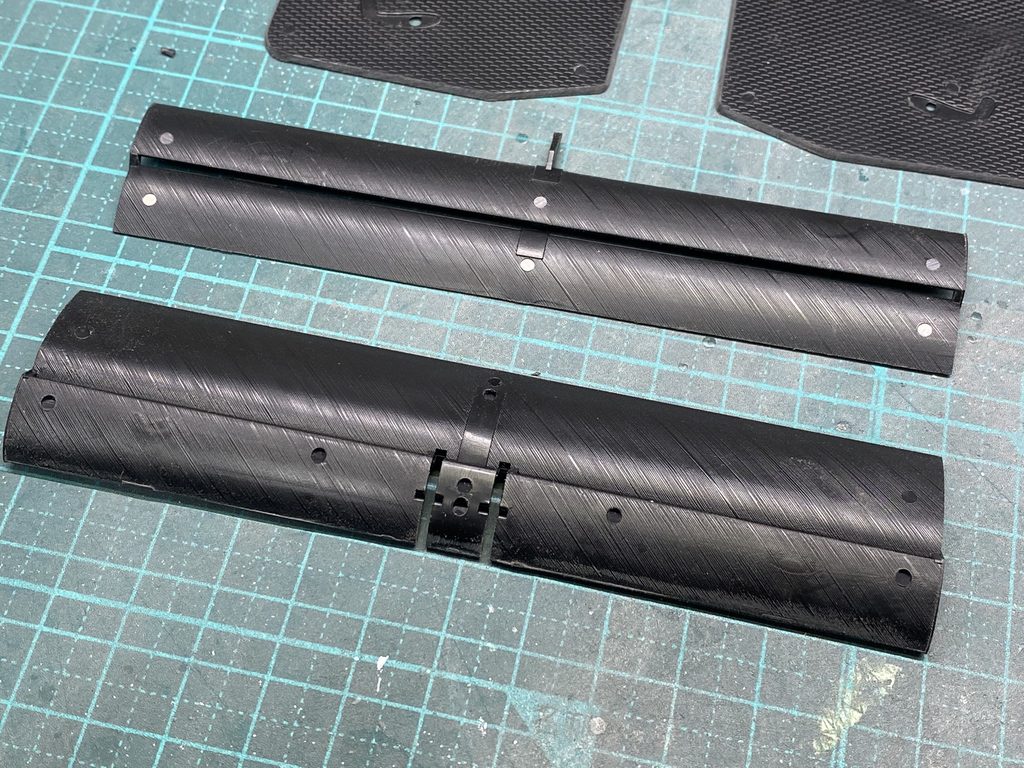
パーツには押出ピンの跡があるほか、表面にはヘアライン状のモールドが施されているため、これらを丁寧に修正・除去していきます。
The parts have ejector pin marks and molded hairline-like surface details that need to be corrected or removed. These imperfections are carefully addressed to prepare the surfaces for a more accurate finish.
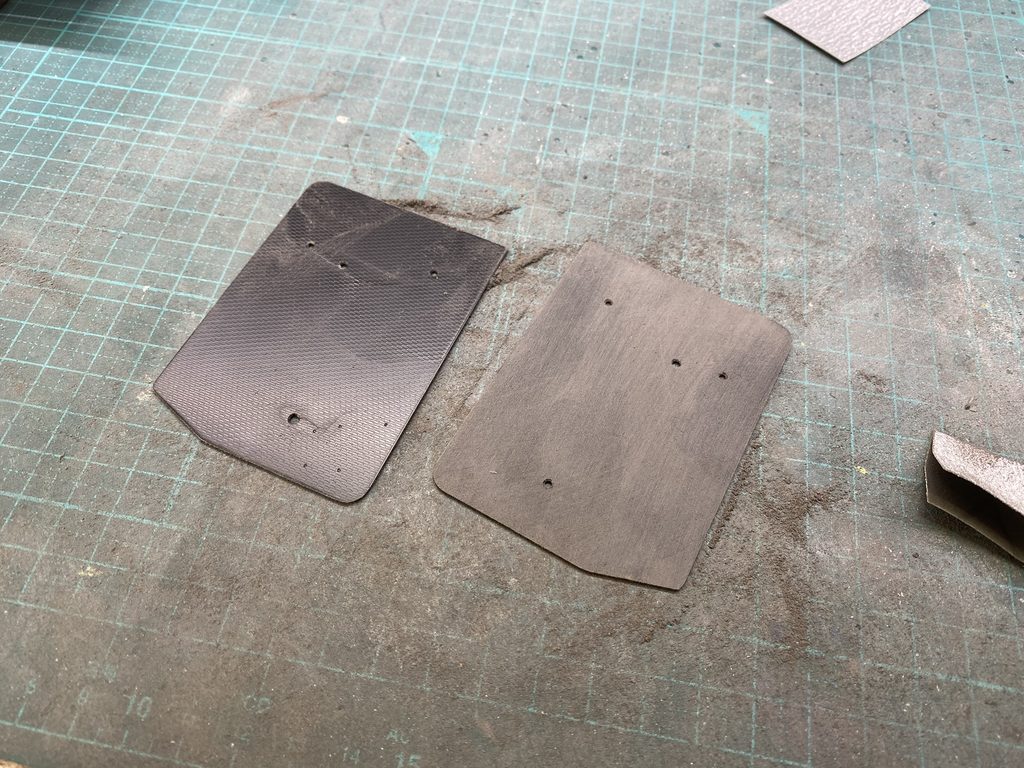
翼端板のモールドをすべて除去し、反りがある部分も修正して、形状を整えていきます。
The molded details on the endplates are carefully removed, and any warping is corrected to achieve the proper shape.
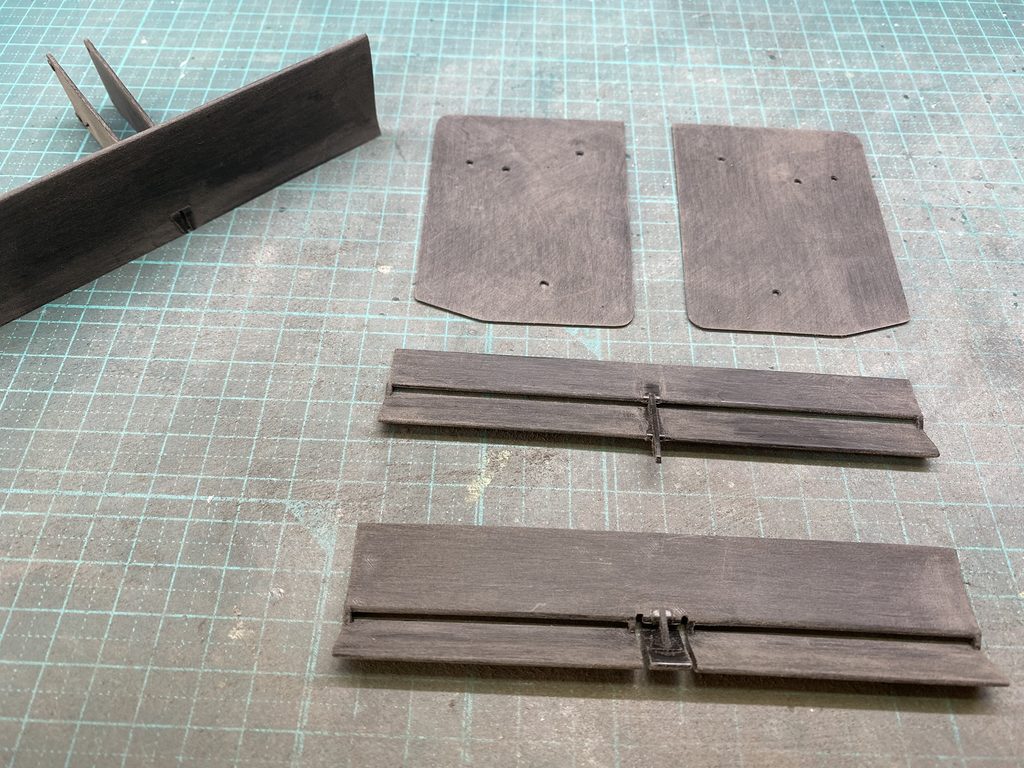
全てのパーツのモールドを削り落とし、表面処理が完了しました。
All molded surface details have been removed, and the surface preparation of all components is now complete.
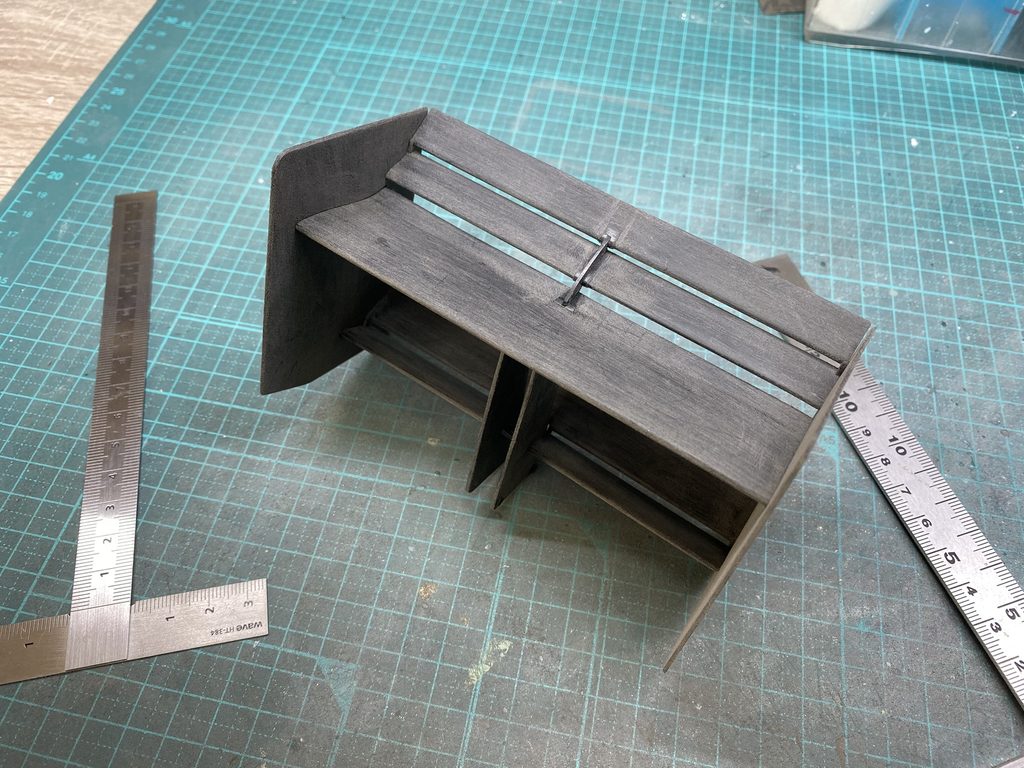
ここでリアウイングの仮組みを行い、全体のバランスや各パーツの位置関係を確認しながら調整しておきます。
また、キットの組み立て方法には問題があるため、より実車に近い仕上がりを目指し、製作方法を変更することにしました。
The rear wing is now test-fitted to check its overall proportions and the alignment of the individual components. Any necessary adjustments are made at this stage.
The assembly method specified in the kit instructions also has some shortcomings, so I have decided to revise the construction approach to achieve a more accurate and realistic result.
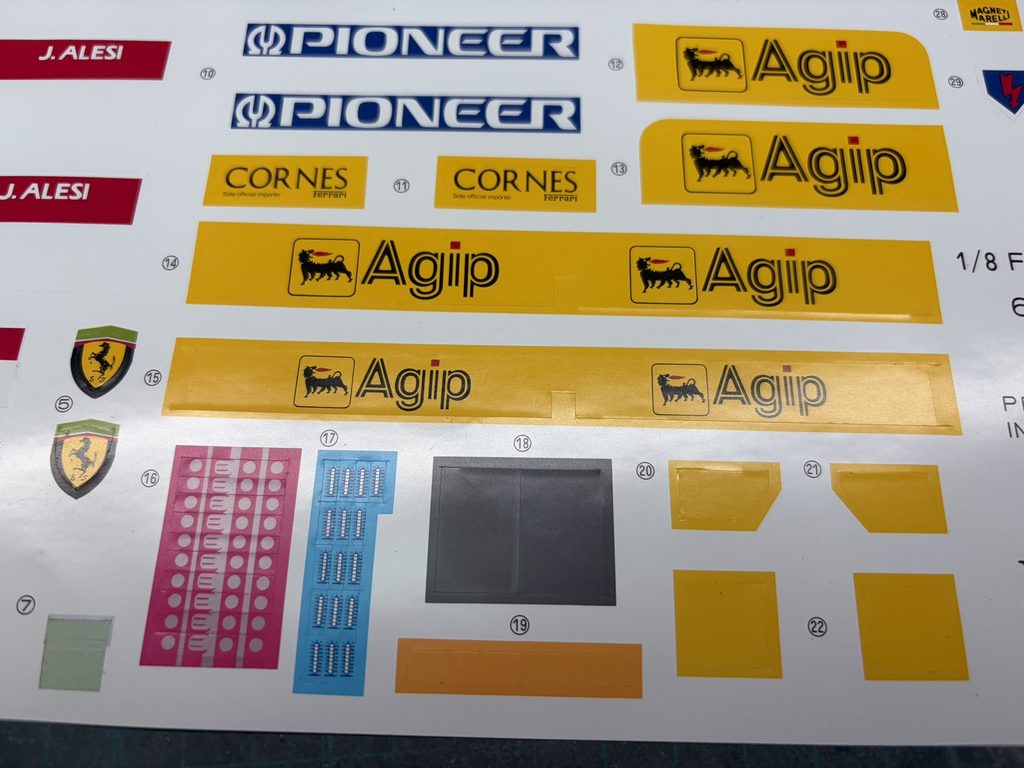
キットではAgipのスポンサーロゴをシールで再現する仕様になっていますが、リアルさに欠けるため、塗装と別売りのデカールを組み合わせて仕上げることにします。
The kit uses a sticker to reproduce the Agip sponsor logo, but this lacks the realism I am aiming for. Instead, I will use a combination of paint and aftermarket decals to achieve a more authentic finish.
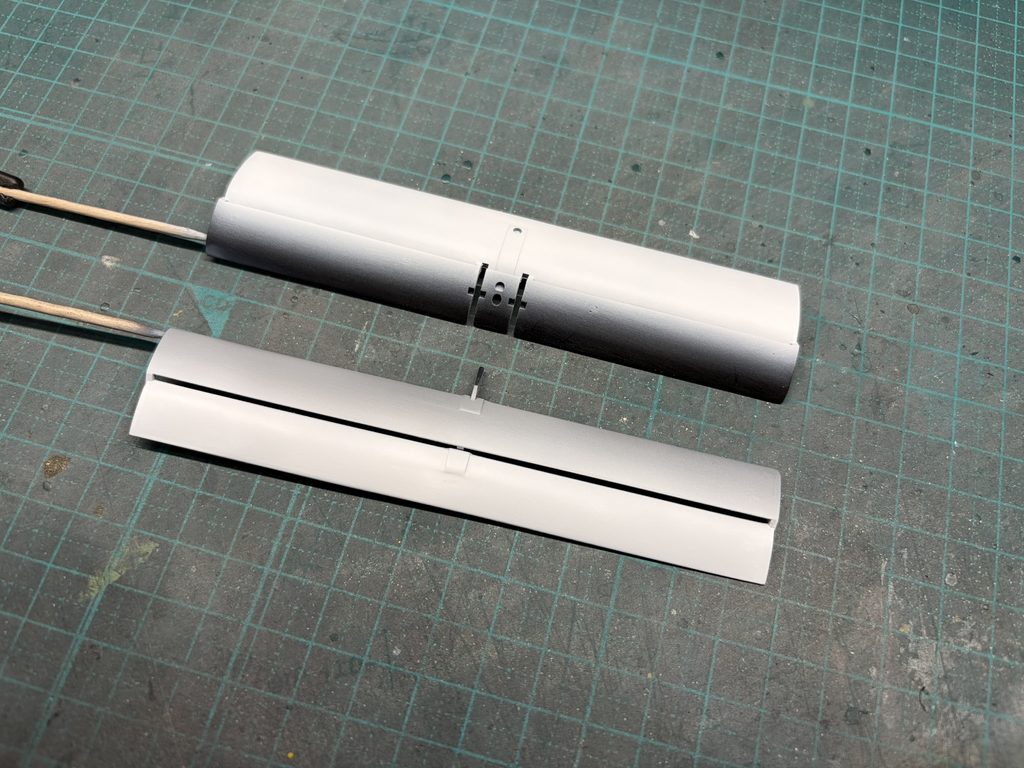
まずはウイングパーツの下地塗装を行います。
洗浄したパーツにプライマーを吹き付け、ホワイトサーフェーサーで塗装の下地を整えていきます。
The first step is to prepare the wing components for painting.
After cleaning, primer is applied, followed by white surfacer to create a smooth, even base for the subsequent paintwork.
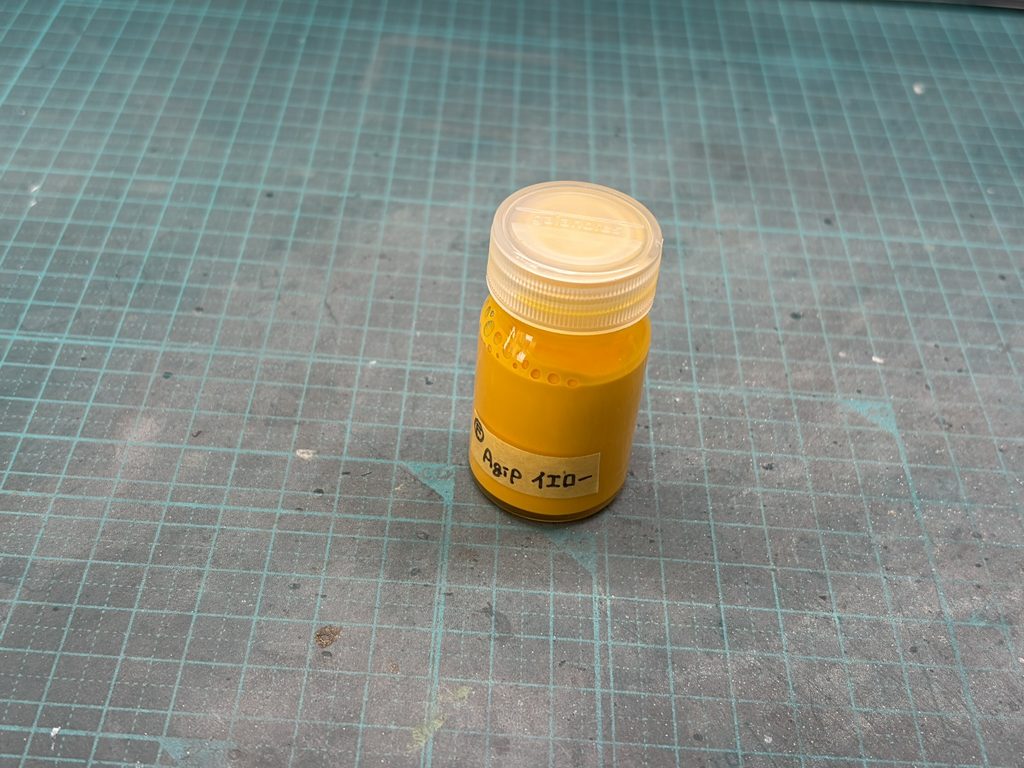
今回はシールではなく塗装で仕上げるため、Agipイエローの塗料を調合し、塗装の準備を進めます。
Since the Agip logo will be painted rather than reproduced with a sticker, a custom Agip Yellow paint mix is prepared for the job.
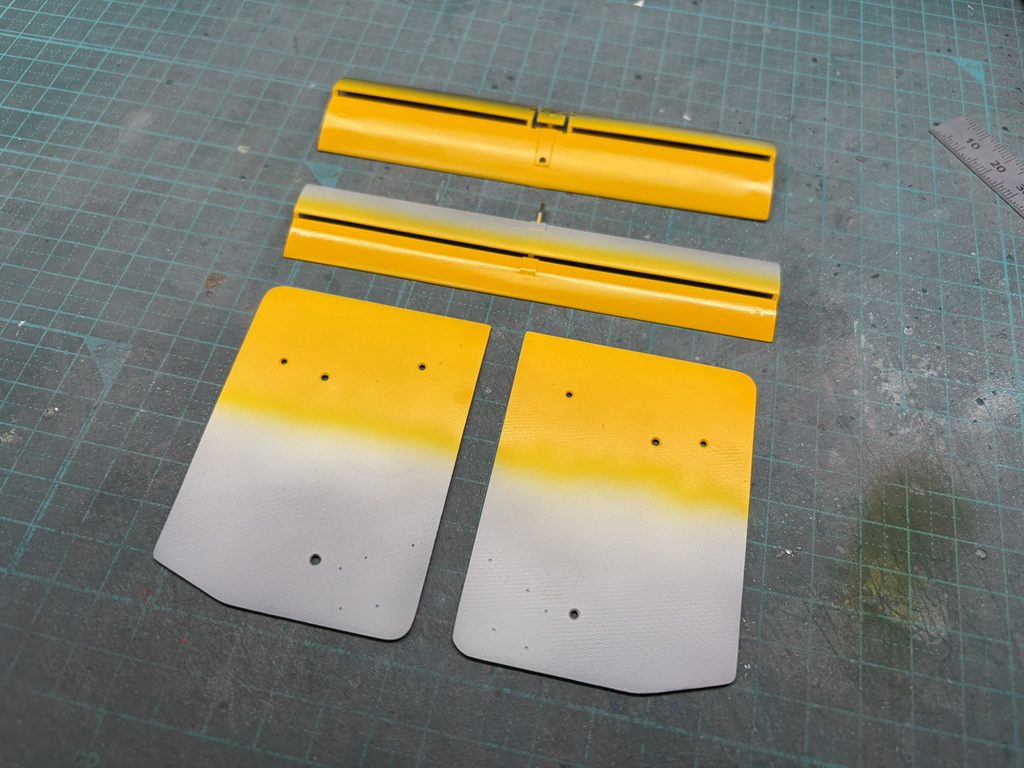
まず、イエローの部分を先に塗装しておきます。
イエローが十分に乾燥したら、塗装面をマスキングし、ベースカラーとなるブラックを吹き付けます。
The yellow areas are painted first.
After the yellow paint has dried thoroughly, these areas are carefully masked off before applying the black base coat.
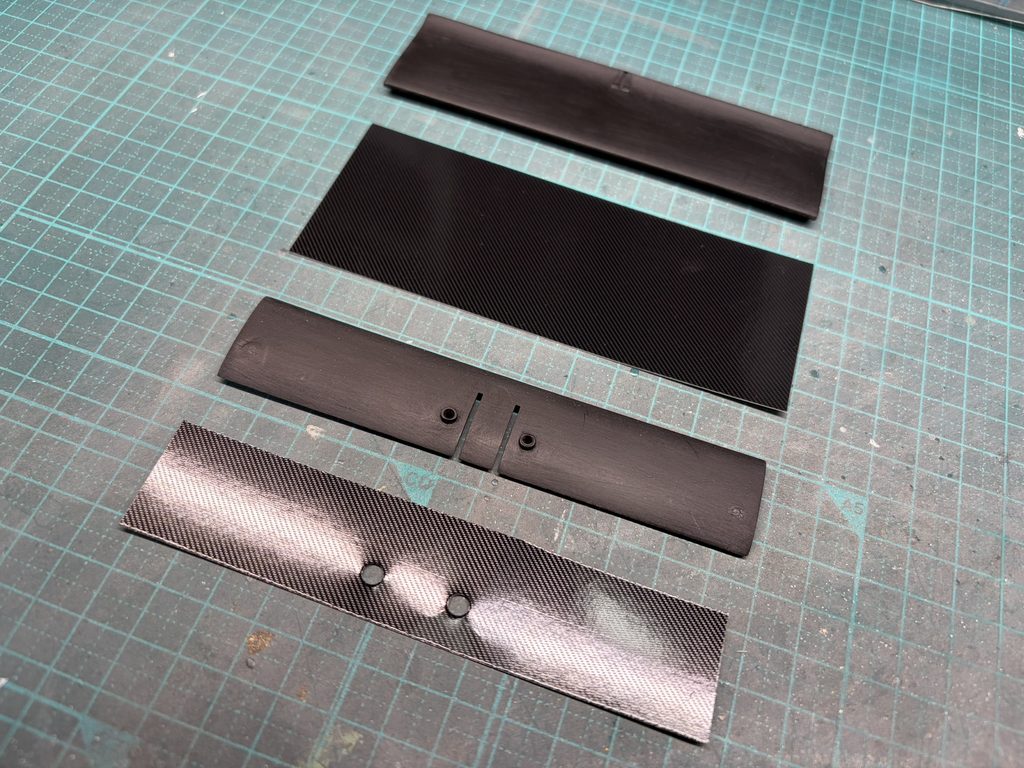
イエロー部分以外はすべてカーボンデカールで仕上げるため、型紙を作成し、各パーツの形状に合わせてカーボンデカールを切り出していきます。
All areas other than the yellow sections will be finished with carbon fiber decals. Templates are made for each component, and the decals are carefully cut to match the shape of each part.
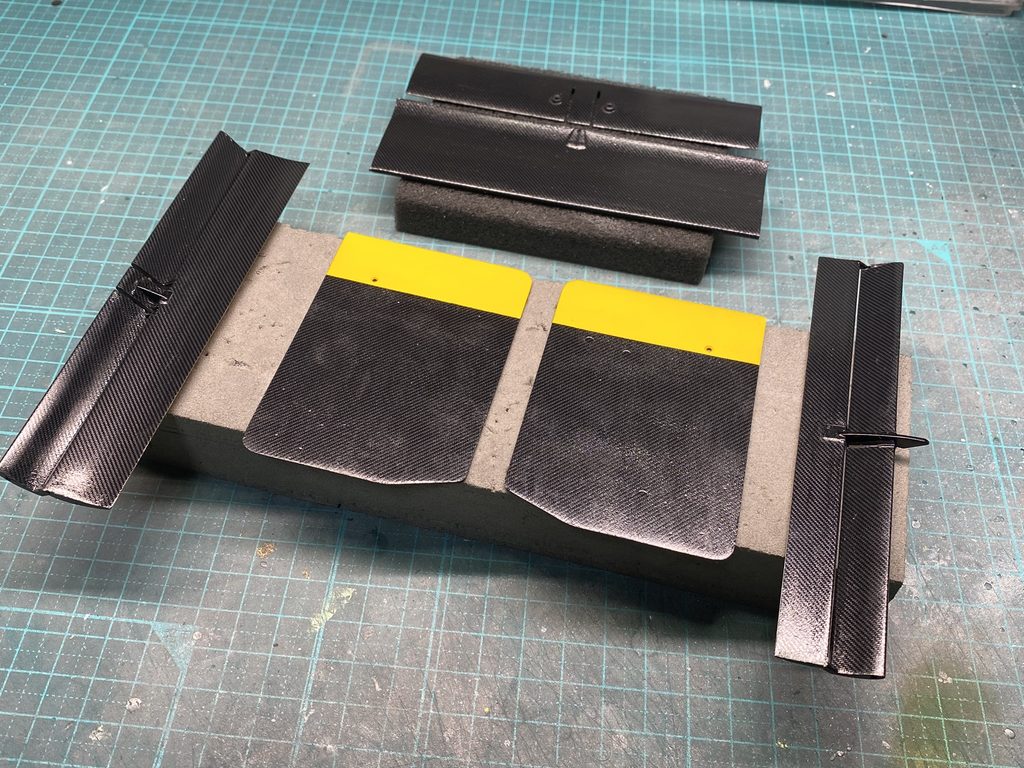
すべてのパーツにカーボンデカールを貼り終えました。
デカールが完全に乾燥するまで、1週間程度じっくりと時間をかけて乾燥させます。
The carbon fiber decals have now been applied to all the components.
The parts are left to dry thoroughly for approximately one week, allowing the decals to fully set before proceeding to the next stage.